The Making of Open Jet Alcohol Stove

Alcohol stoves are light and they are great to have for hiking trips and camping. They are cheap and easy to make yourself. There are several commercial types of alcohol stoves in the market with Trangia taking the top spot of all the alcohol stoves out there. Over the weekends i took some time to make one for myself. After a few tries and tests, i finally learned how to make a good alcohol stove. There are many types of alcohol stove constructions and the type i am making is the Open Jet type.
There are few things i learned from my experiments:
- Make sure the jet holes are small enough. How small, you need to try it out by tests.
- I felt that 16 holes are good enough. More than that, the jet flames will start ignite slower due to slow pressure build up in the inner wall chamber and the jet flames might not look powerful. 8 holes will make the jet flames to blow further.
- Inserting a wick in between the walls will help to absorb almost all the alcohol into the chamber. The reason of doing this is to move as much alcohol as possible into the inner wall chamber to use it to produce jet flames. This will increase the efficiency usage of the alcohol fuel for burning. The left over of alcohol in the middle hole will be use to heat the stove to higher temperature in order to boil the alcohol and build up the pressure in the inner wall chamber. I just use my old cotton t-shirt cloth as wick. There are other material can be use as wick such as carbon wick, cigarette filters or even cotton wool.
- After pouring in the alcohol into the stove, wait for a while to let the wick absorb the alcohol. Keep pouring until the wick cannot absorb the alcohol anymore which means the storing capacity has max out for the stove. When the capacity max out, there will be some alcohol fuel left in the middle hole. This alcohol will be use to light up and heat the stove and produce alcohol vapors in the inner wall chamber. A taller stove will definitely store more alcohol fuel thus burns longer to boil larger amount of water.
- Make sure to seal all the joints using steel epoxy to optimize the alcohol vapor pressure build up in the inner wall chamber during heat up.
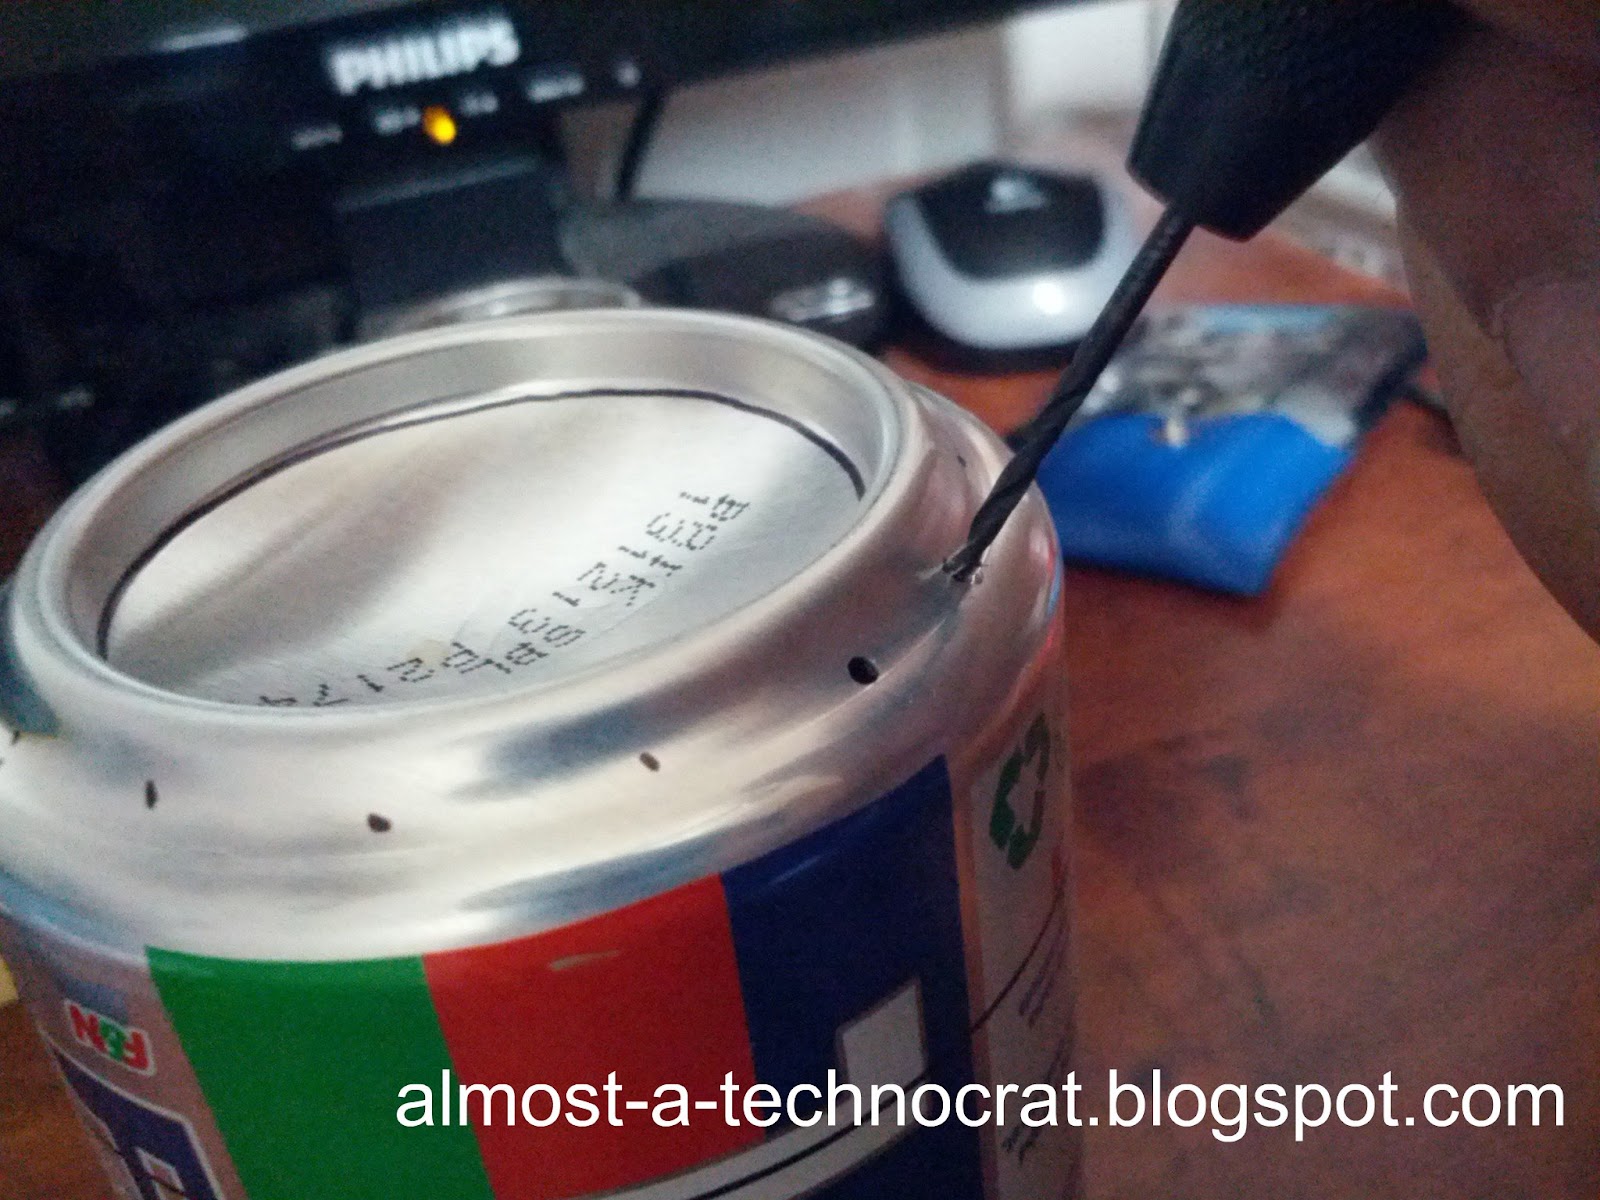
The making process:

- Two 325ml aluminium soda cans.
- A pen knife
- A pair of scissors
- A Sharpie pen
- A pair of pointed pliers
- A small hand drill
- Masking tape


Boiling test:
The alcohol stove that i build, was able to use 40 ml of denatured alcohol to boil 500ml (about 2 cups) of water in 7 1/2 minutes.You can make the stove shorter or taller depends on your needs. A taller stove can store larger amount of alcohol in the inner wall chamber by using a wick. This will enable you to use the stove to burn longer.
References, Sources and Credits:
http://en.wikipedia.org/wiki/Beverage-can_stovehttp://zenstoves.net/ConstructionStep2-FuelPort.htm#Step2aOpenJetStove


Comments
Post a Comment
Thank you for visiting Almost a Technocrat. Due to many spam comments, your comment will be moderated.